Contents
When you using EPPlus for creating Excel file some time you want to add Image in to the Excel File. In this article we are talk How to add Image in to Excel File using EPPlus
In today’s digital age, Excel has become an indispensable tool for businesses and individuals alike. From financial analysis to project management, its versatility knows no bounds. However, despite its myriad capabilities, many users remain unaware of its full potential. One such hidden gem is the ability to add images to Excel files using EPPlus, a powerful .NET library. In this guide, we’ll explore how you can leverage EPPlus to seamlessly integrate images into your Excel documents, unlocking a whole new level of functionality.

Understanding EPPlus: The Key to Excel Mastery
Before we delve into the intricacies of adding images, let’s first familiarize ourselves with EPPlus. Essentially, EPPlus is a .NET library that enables developers to manipulate Excel files programmatically. Whether you’re creating, reading, or modifying Excel documents, EPPlus provides a robust set of tools to streamline the process. Its intuitive API allows for seamless integration with existing applications, making it a preferred choice for developers worldwide.
Step-by-Step Guide: Adding Images to Excel Using EPPlus
Now that we have a basic understanding of EPPlus, let’s dive into the nitty-gritty of adding images to Excel files. Follow these simple steps to harness the power of EPPlus and elevate your Excel game:
1. Installation and Setup
The first step is to install EPPlus in your project. You can do this via NuGet Package Manager or by downloading the DLL file from the official EPPlus website. Once installed, add a reference to the EPPlus namespace in your code file to begin using its functionalities.
2. Loading Excel File
Next, you’ll need to load the Excel file onto which you want to add the image. Use the ExcelPackage class provided by EPPlus to open the Excel file and gain access to its contents.
3. Inserting Images
With the Excel file loaded, it’s time to insert the image. EPPlus provides a convenient method, AddPicture, which allows you to specify the image file path, position, and dimensions within the Excel sheet.
4. Saving Changes
After adding the image, don’t forget to save the changes to the Excel file using the Save method of the ExcelPackage class. This ensures that your modifications are preserved for future use.
5. Final Touches
Once the changes are saved, you can further customize the appearance of the image by adjusting its size, position, and other properties as needed. EPPlus offers a plethora of options to tailor the image to your specific requirements.
Unlocking Excel’s Full Potential with EPPlus
By following the steps outlined above, you can harness the full power of EPPlus to seamlessly integrate images into your Excel files. Whether you’re creating dynamic reports, interactive dashboards, or engaging presentations, adding images with EPPlus adds a visual dimension that elevates your work to new heights. So why settle for plain, text-heavy spreadsheets when you can create visually stunning documents that leave a lasting impression? With EPPlus, the possibilities are endless.
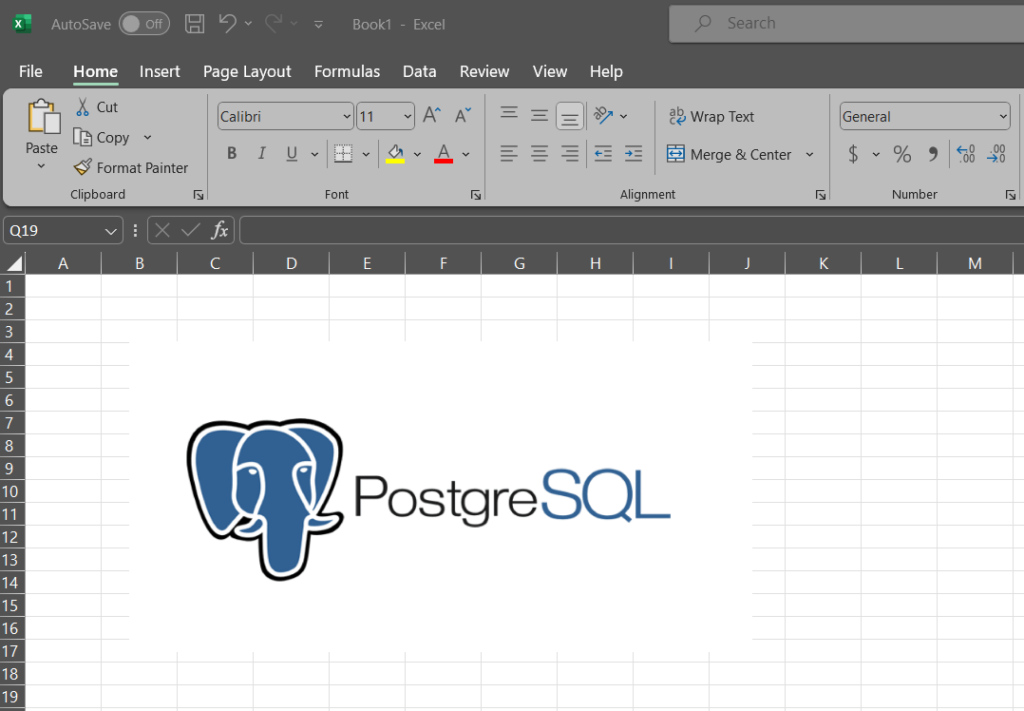
How to add Image in to Excel File using EPPlus
First you need to add following namespaces
using OfficeOpenXml;
using OfficeOpenXml.Drawing;
then,
ExcelPackage ex = new ExcelPackage();
ex.Workbook.Worksheets.Add("ShipmentDetails");

var Excell = ex.Workbook.Worksheets[1];

FileInfo mImageFile = new FileInfo(Request.PhysicalApplicationPath + "upload/imgCompHd.jpg");

ExcelPicture pic = Excell.Drawings.AddPicture("CompHd", mImageFile);

pic.SetPosition(0,0);
pic.SetSize(500, 150);
Conclusion
In conclusion, EPPlus is a game-changer for anyone looking to enhance their Excel experience. By enabling the integration of images, EPPlus opens up a world of possibilities for creating visually compelling documents that stand out from the crowd. So why wait? Take your Excel skills to the next level today with EPPlus and unleash your creativity like never before.