Setting up the environment for Rust programming is simplified with rustup, a convenient console-based tool designed for managing different versions of Rust and associated tools. This tool makes it easy to install, update, and switch between different versions of Rust, as well as manage the installation of additional components and tools required for Rust development.
Contents
Setting Up the Environment on Windows
- Installation of Visual Studio 2013 or higher with C++ tools is mandatory to run the Rust program on Windows. First, download Visual Studio from here VS 2013 Express
- Download and install rustup tool for Windows. rustup-init.exe is available for download here − Rust Lang
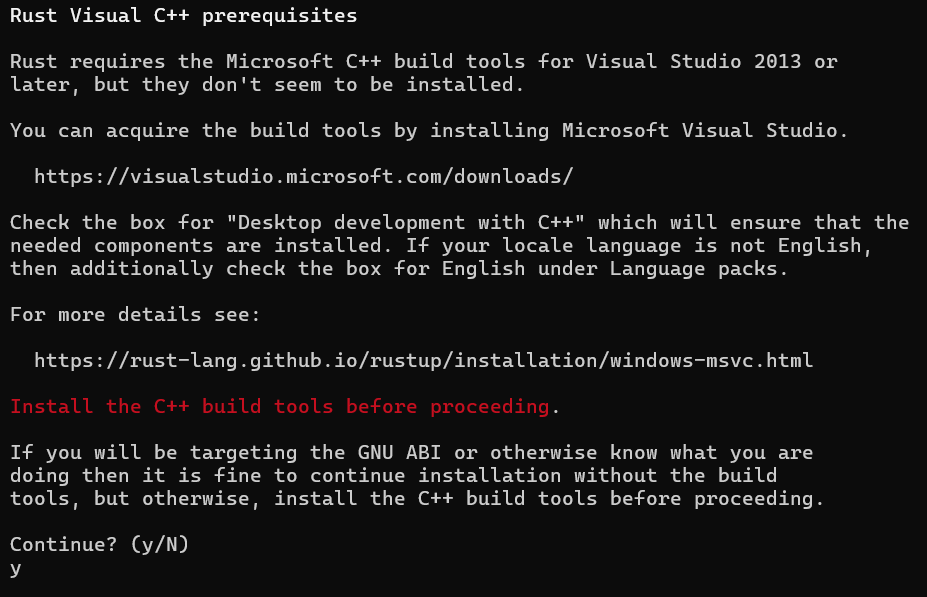
- Double-click rustup-init.exe file. Upon clicking, the following screen will appear.

Enter “y” Press enter for default installation.

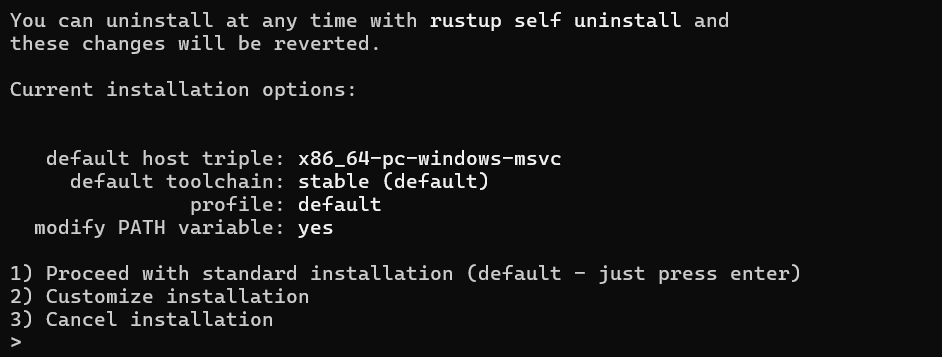
Press enter for default installation. Once installation is completed, the following screen appears.

Following these steps should get Rust up and running on your Windows machine. If you encounter any issues, the Rust documentation and community forums are excellent resources for troubleshooting.
Setting Up the Environment Rust on Linux
Download and Install rustup:
- Open your terminal.
- Run the following command to download and install
rustup:
curl --proto '=https' --tlsv1.2 -sSf https://sh.rustup.rs | shSetting Up the Environment Rust on macOS
Download and Install rustup:
- Open your terminal.
- Run the following command to download and install
rustup:
curl --proto '=https' --tlsv1.2 -sSf https://sh.rustup.rs | shFollowing these steps will set up Rust on your Linux or macOS machine. If you encounter any issues, the Rust documentation and community forums are excellent resources for troubleshooting.