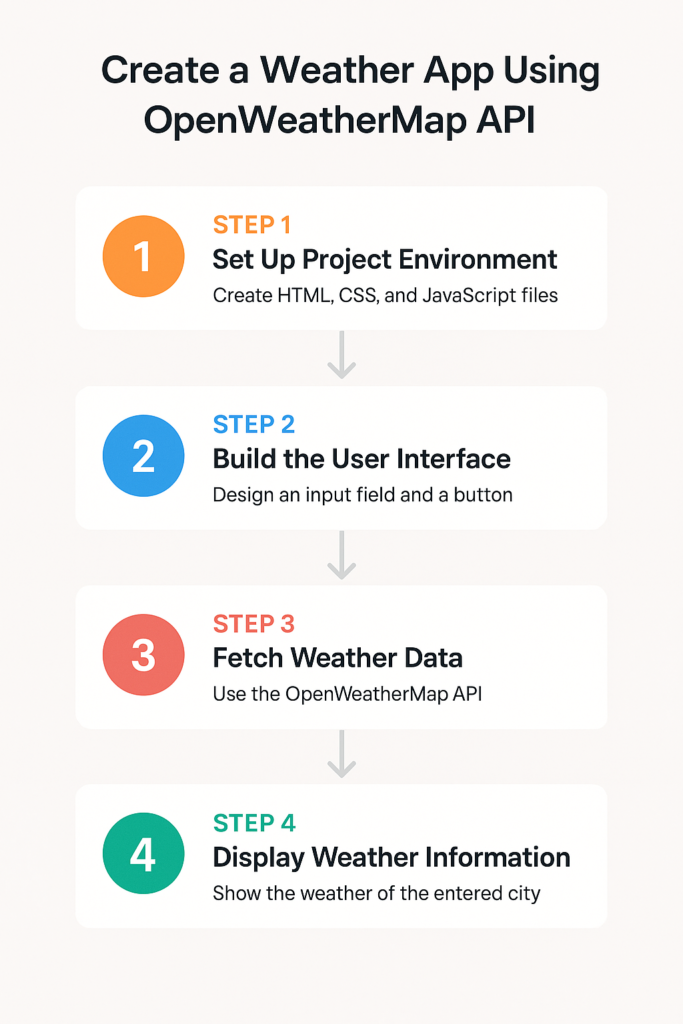
Are you prepared to develop a practical project to advance your coding abilities? This detailed tutorial will teach you how to create a Weather App Using OpenWeatherMap API. This tutorial is a great option whether you’re a novice or seeking a quick project to hone your abilities.

What is the OpenWeatherMap API?
The Openweathermap API provides real-time weather information for any place in the world. It is simple to incorporate into web and mobile applications and is free for basic use.
📊 Weather App Development Statistics
| Metric | Value | Source/Comment |
|---|---|---|
| Monthly OpenWeatherMap API Calls | 1+ billion | OpenWeatherMap |
| Percentage of Beginner Devs Using APIs | 78% | Stack Overflow Developer Survey |
| Most Popular Use Case for Weather APIs | Real-time current weather data | Developer community forums |
| Average Time to Build Basic Weather App | 2 – 4 hours | Based on beginner project estimates |
| Free API Requests per Day (OpenWeather) | 1,000 requests/day | OpenWeatherMap Free Plan |
| Percentage of Portfolio Projects that Include a Weather App | 60%+ | GitHub and developer bootcamp curriculum analysis |
| Supported Cities in OpenWeatherMap | Over 200,000 | OpenWeatherMap Docs |
| Number of Weather APIs Available Online | 50+ | API marketplaces like RapidAPI |
Why Build a Weather App?
- Real-world API usage
- Improves JavaScript and fetch() skills
- Great addition to your portfolio
- Lightweight and fast project for beginners
🛠️ Tools You’ll Need
- Basic HTML, CSS, and JavaScript knowledge
- A free OpenWeatherMap API key
- A code editor like VS Code
- Live Server extension (optional but recommended)
🧩 Step 1: Set up Your Project Using VS Code
Create a basic file structure:
Download the full code on GitHub.
weather-app/
│
├── index.html
├── style.css
└── script.js
🧱 Step 2: Basic HTML Structure
<!DOCTYPE html>
<html lang="en">
<head>
  <meta charset="UTF-8" />
  <meta name="viewport" content="width=device-width, initial-scale=1.0" />
  <title>Weather App</title>
  <link rel="stylesheet" href="style.css" />
</head>
<body>
  <div class="container">
    <h1>Weather App</h1>
    <input type="text" id="city" placeholder="Enter city name" />
    <button onclick="getWeather()">Get Weather</button>
    <div id="result"></div>
  </div>
  <script src="script.js"></script>
</body>
</html>
🎨 Step 3: Style It with CSS
body {
  font-family: Arial, sans-serif;
  background-color: #e0f7fa;
  display: flex;
  justify-content: center;
  align-items: center;
  height: 100vh;
}

.container {
  text-align: center;
  background: white;
  padding: 30px;
  border-radius: 8px;
  box-shadow: 0 0 10px rgba(0,0,0,0.1);
}

input {
  padding: 10px;
  width: 200px;
  margin-right: 10px;
}

button {
  padding: 10px 15px;
  background-color: #00796b;
  color: white;
  border: none;
  cursor: pointer;
}

#result {
  margin-top: 20px;
}
🔗 Step 4: JavaScript + OpenWeatherMap API
async function getWeather() {
  const city = document.getElementById('city').value;
  const apiKey = 'YOUR_API_KEY_HERE'; // Replace with your OpenWeatherMap API key
  const url = `https://api.openweathermap.org/data/2.5/weather?q=${city}&appid=${apiKey}&units=metric`;

  const response = await fetch(url);
  const data = await response.json();

  if (data.cod === 200) {
    document.getElementById('result').innerHTML = `
      <h2>${data.name}, ${data.sys.country}</h2>
      <p>Temperature: ${data.main.temp} °C</p>
      <p>Weather: ${data.weather[0].description}</p>
    `;
  } else {
    document.getElementById('result').innerHTML = `<p>City not found!</p>`;
  }
}
An excellent practical way to learn about REST APIs, JavaScript async/await, and frontend development in general is to create a weather app using the OpenWeatherMap API. It’s an easy project for beginners that adds genuine value and looks fantastic in your portfolio.
Why not make your weather app now that you know how to make one using the OpenWeatherMap API?